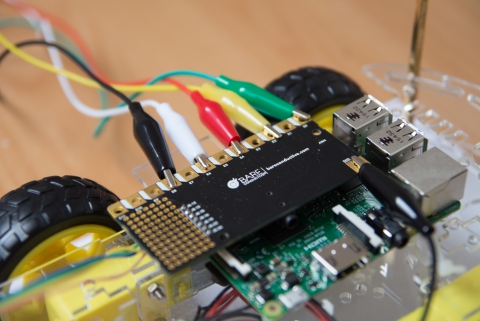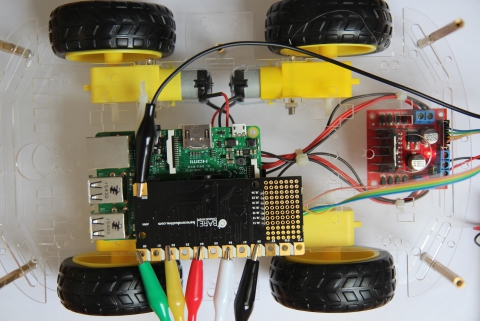
Facilitating things, the PiCap allow us to access directly from the board to 7 digital I/O pins from Raspberry Pi GPIO, we are going to use pins 12, 13, 15, 16 to connect our motor driver. You can solder a male pin header to facilitate further manipulations.
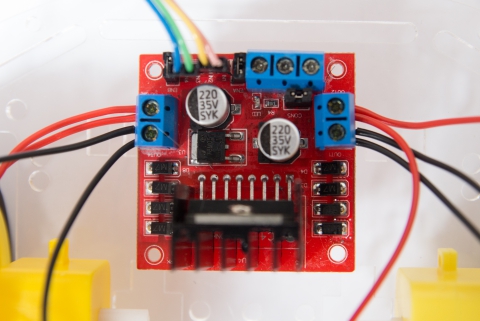
The L298N is
straightforward to use, and well documented. We must connect the 4
motors, the PiCap (IN1 IN2, IN3 IN4, GND) and the power supply or
battery pack (+12V, GND).
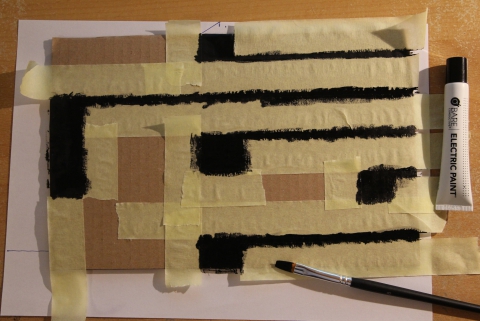
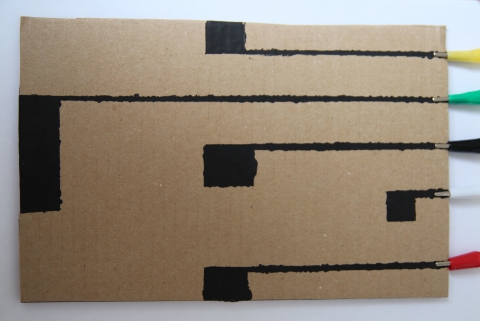
Using masking tape and a paintbrush, we can make as many sensors as we want in any shape we want. In this case we are going to paint at least our four directions to control the robot.